Get Started with ToBid
How to start
| Step | Main Operation Items | Sub-operation Items |
|---|---|---|
| 1 | Create a Sigmob Monetization Platform Account | Contact the business team to activate permissions |
| 2 | Create a Sigmob Monetization App and Bind it to ToBid | |
| 3 | Create a ToBid Placement | |
| 4 | Integrate ToBid SDK | Customize SDK download selection |
| 5 | Perform Mediation Management Settings | Bind Account Parameters for Third-Party Ad Networks Bind Third-Party App Information and Ad Unit Information Add Segment Adjust Waterfall Priority Select Request Mode |
| 6 | SDK Integration Testing | |
| 7 | Check Data Reports |
1. Create a Sigmob Monetization Platform Account
- Register an account on the developer's backend (https://dash.sigmob.com)
- Contact the business team to activate permissions for the ToBid aggregation platform
2. Create a Sigmob Monetization App and Bind it to ToBid
2.1 Create Sigmob App
In "Sigmob" - "Ad Traffic Management" - "Apps", click on "Add App".
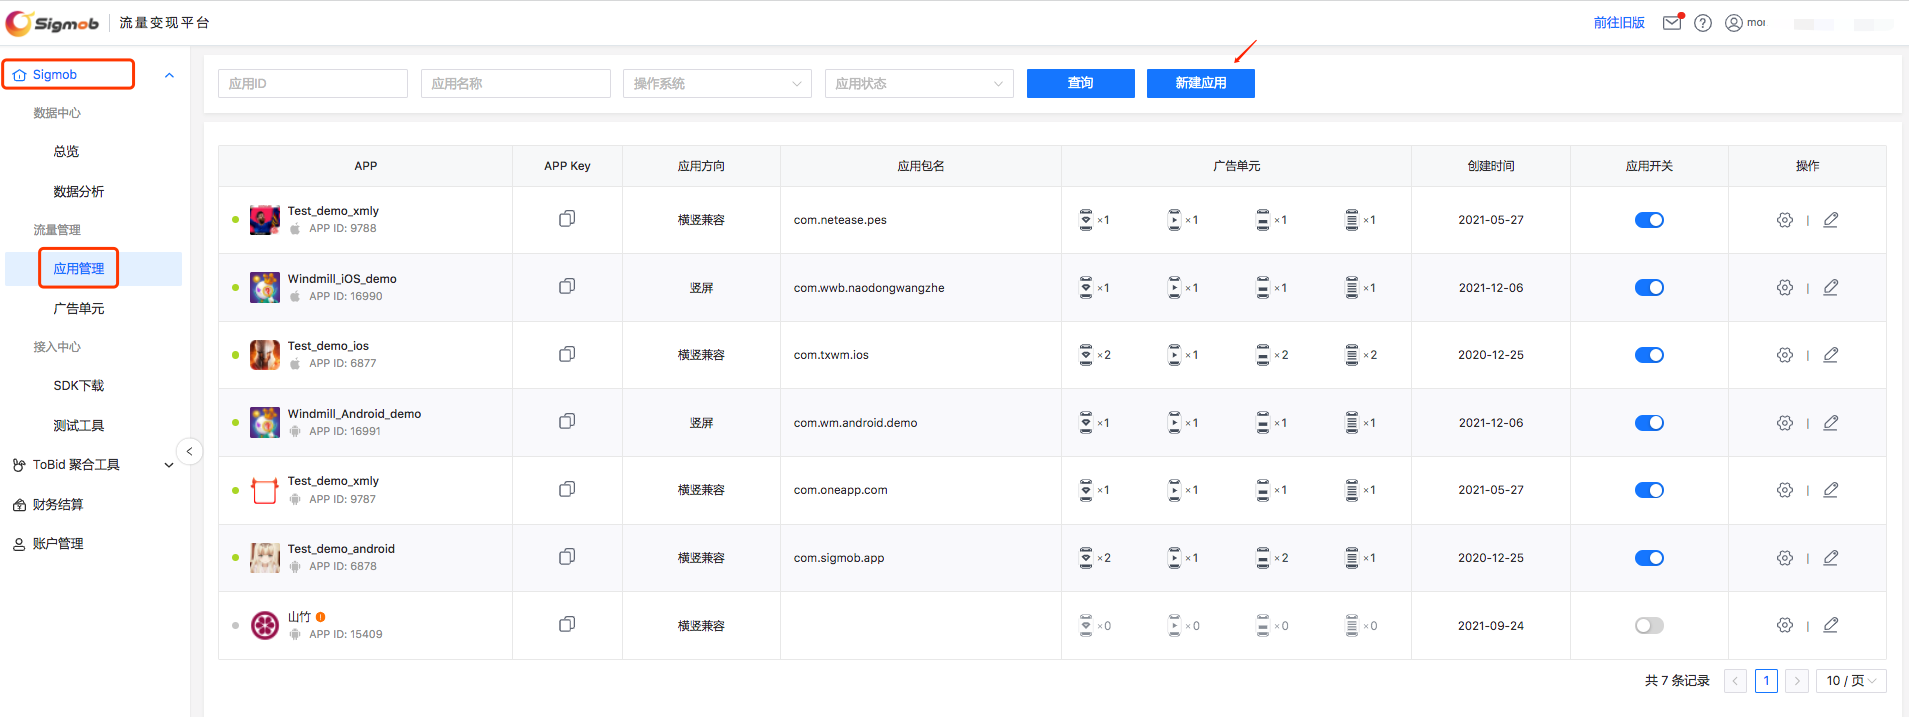
Fill in the corresponding application information to complete the creation.

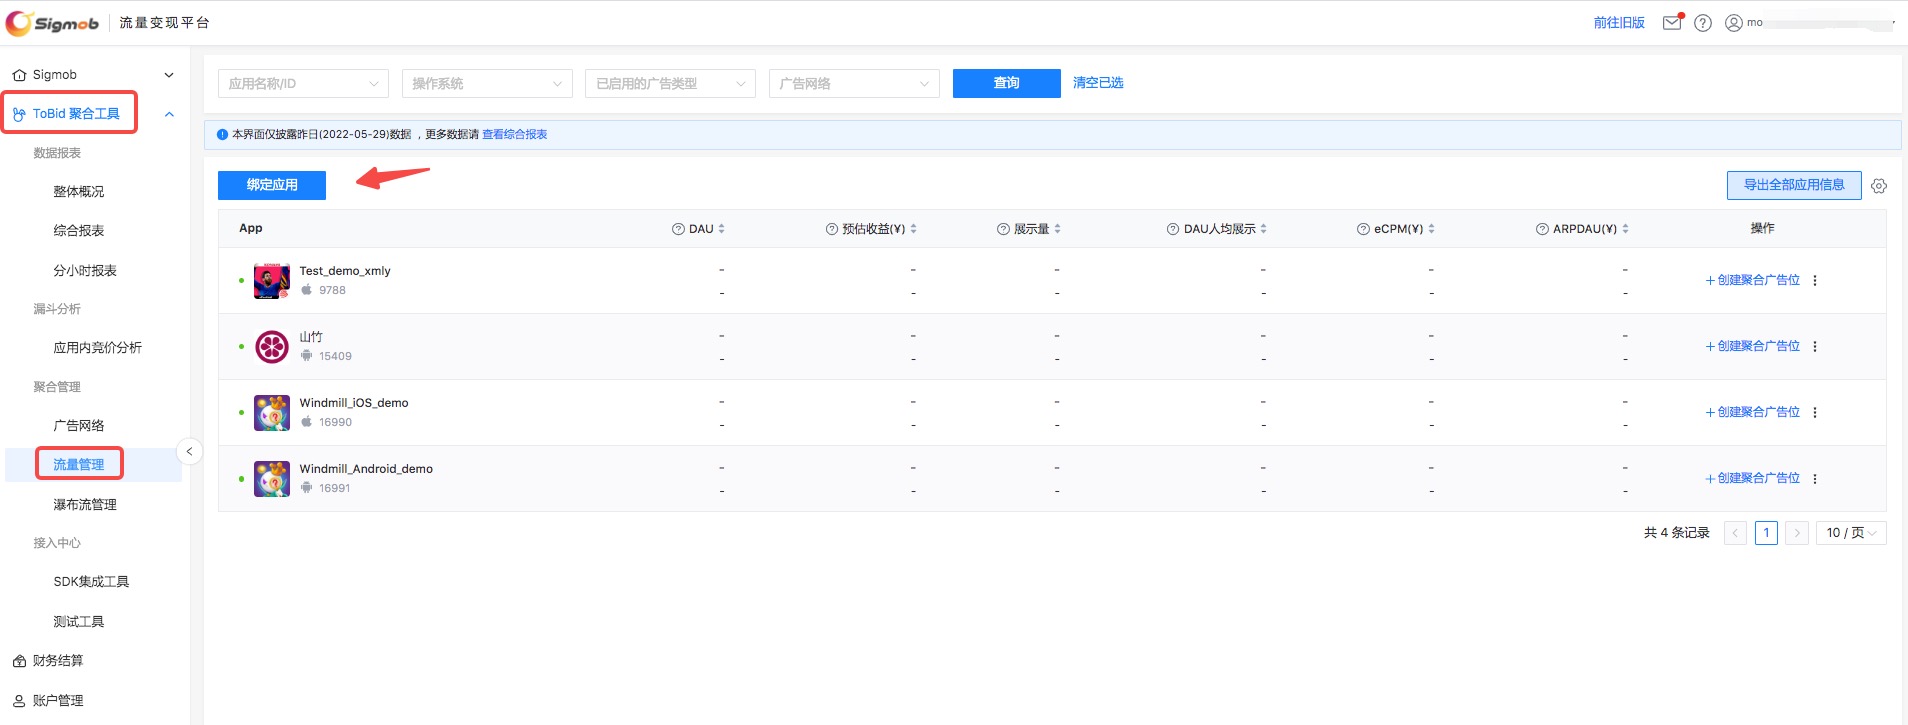
2.2 Bind to ToBid
In "ToBid" - "Mediation" - "Ad Traffic Management", click on "Bind App" to bind the Sigmob monetization app with the ToBid platform.
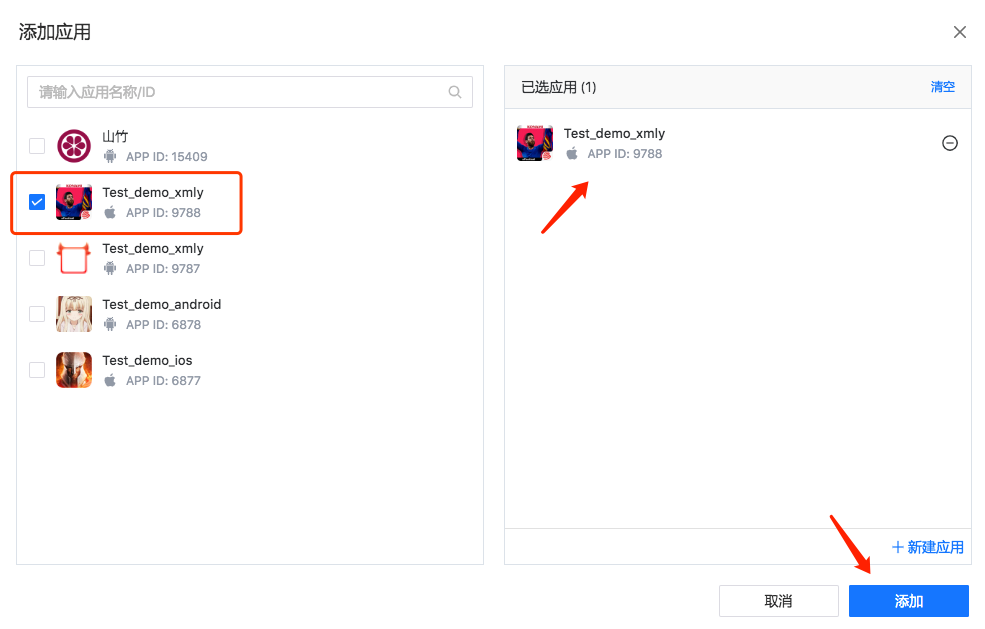
In the pop-up window, select the app that you want to monetize through the ToBid aggregation platform and complete the binding. After the binding process is finished, you can then request tobid ads through the tobid SDK's interfaces.
Note: After creating a new Sigmob monetization app, the app status will be "Pending Review" or "Not Launched." For developers who collaborate through the ToBid platform, there is no need to pay attention to this status. When requesting ads through the tobid interface, the server will not determine the status of the Sigmob monetization app. In other words, even if the app has not been approved, developers can still normally use the tobid services provided by the ToBid platform.
3. Create a ToBid Placement
3.1 Select Ad Type
The types of ad formats supported by ToBid include: Rewarded Video Ads, Interstitial Ads, Splash Ads, Native Ads, and Banner Ads.
3.2 Add ToBid Placement
Click on the selected app from the list to enter the ad placement list page, or directly on the list page, click "Create ToBid Placement."
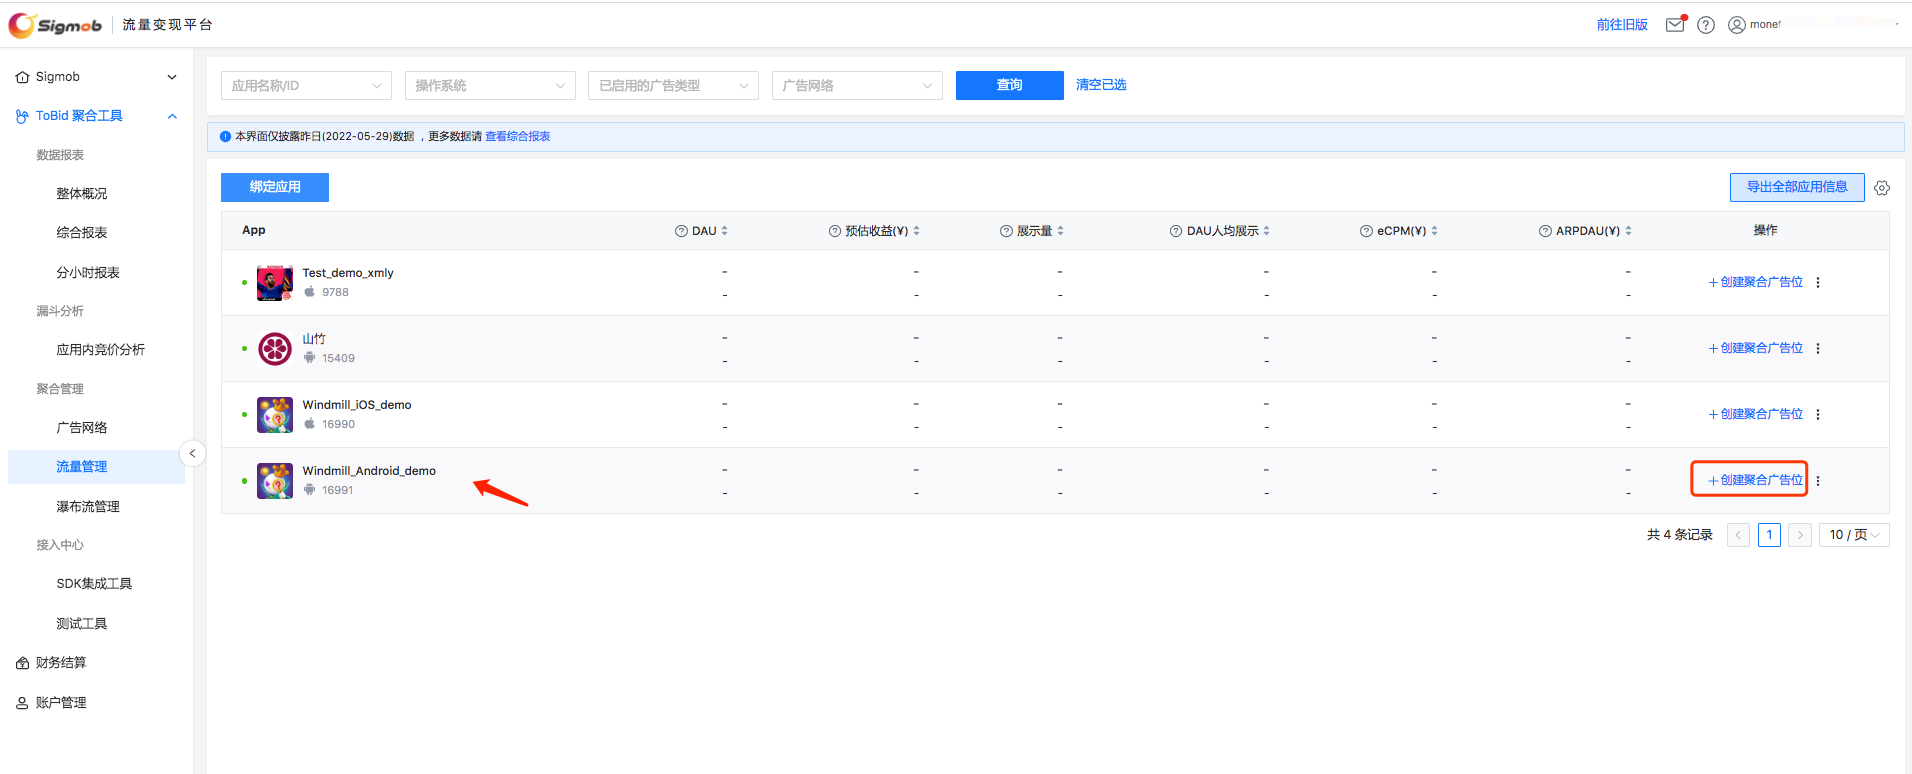
If you need to add multiple tobid ad placements in bulk, you can directly click "Add Ad Placement" within the popup window to continue with the creation process.
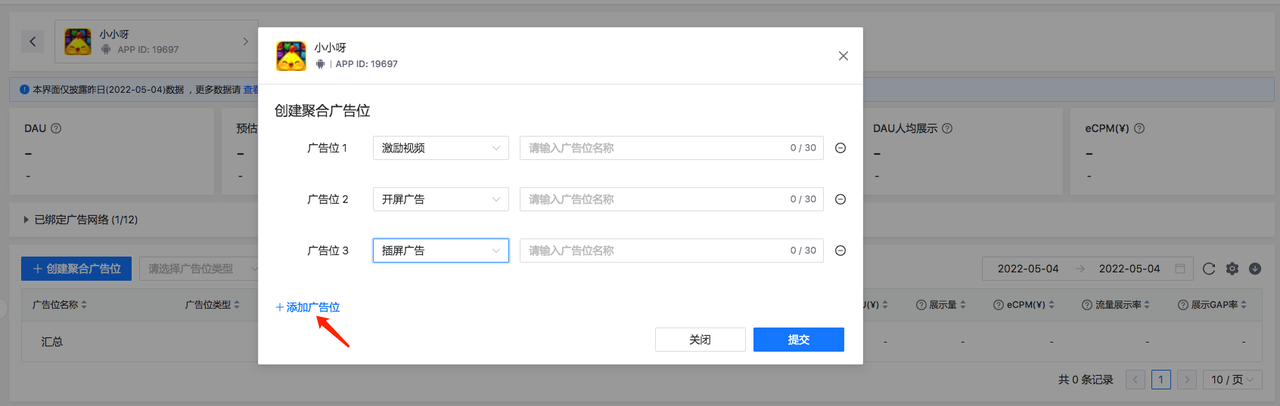
3.3 Rules for Creating ToBid Ad Placements
- The default upper limit for creating tobid ad placements is 30.
- Under one app, the names of ad placements of the same tobid ad placement type must be unique.
4. Integrate ToBid SDK
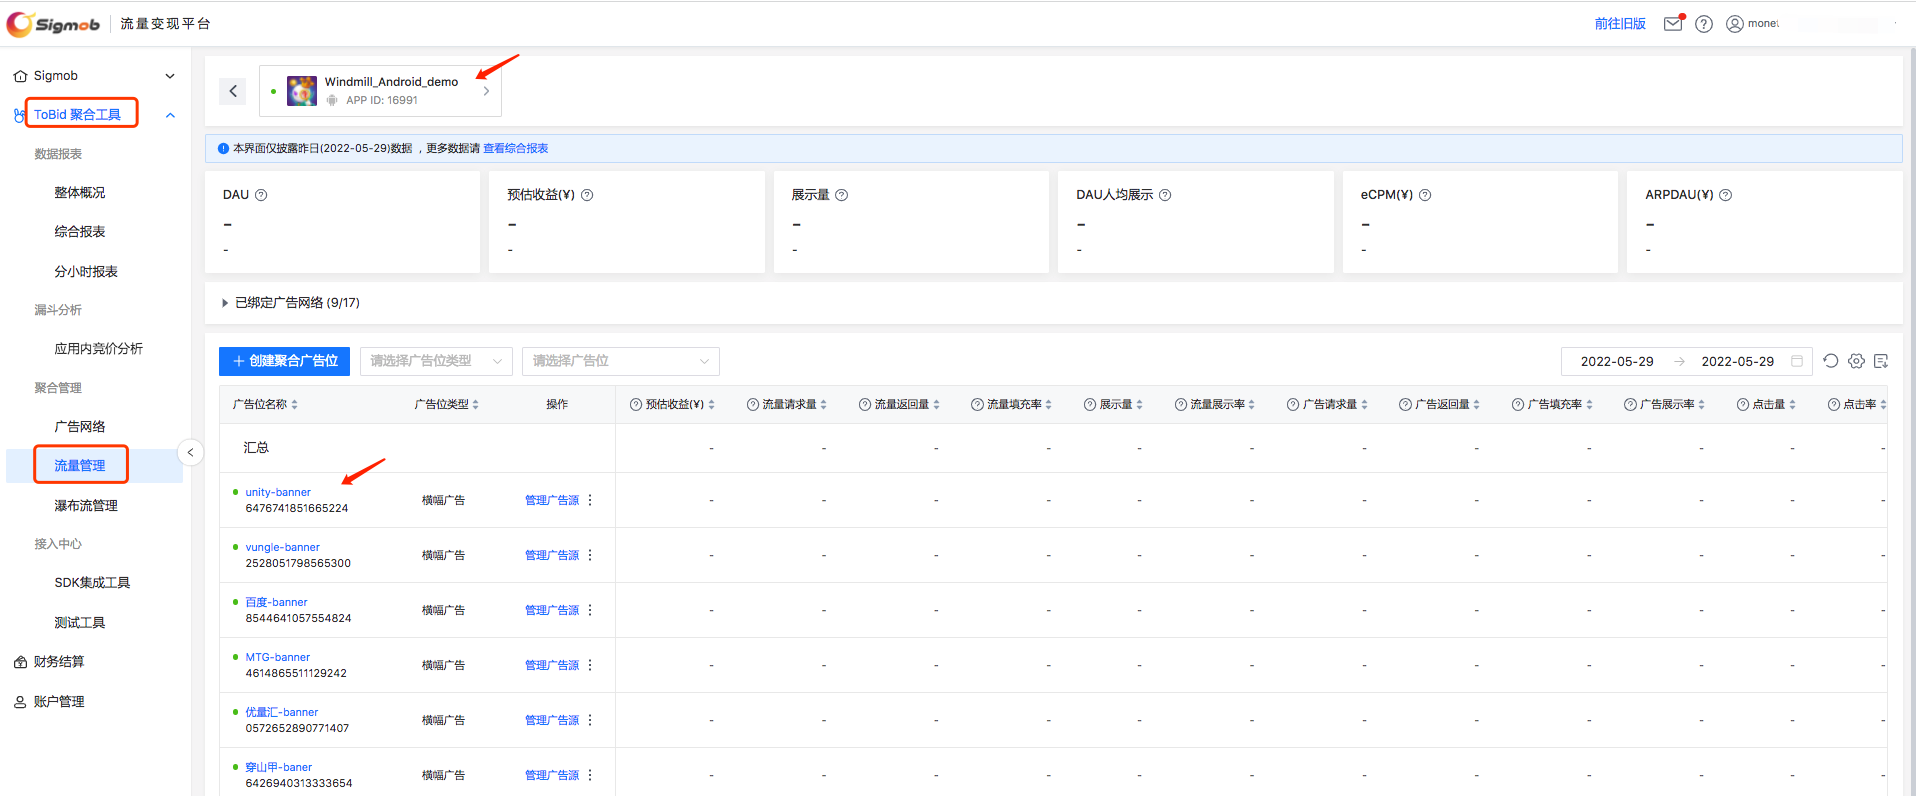
4.1 Obtaining Parameters Required for SDK Integration
The parameters required for ToBid : APP ID and tobid Ad Placement ID, which can be obtained from the locations shown in the following figure.
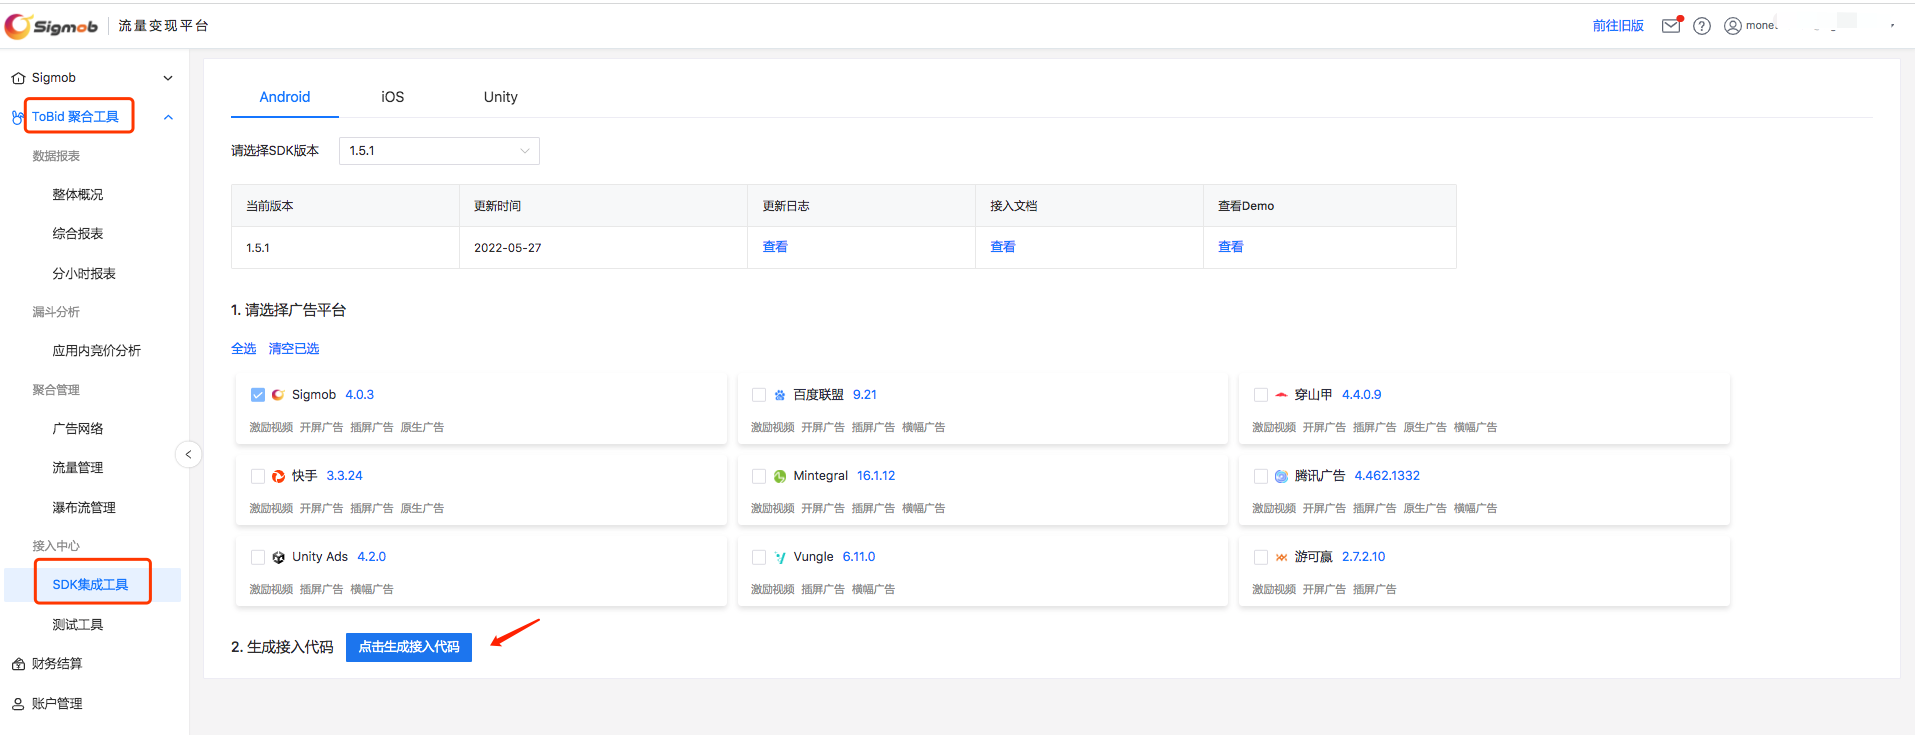
4.2 Download the Integrated SDK as Needed
Navigate to "ToBid" - "Access Center" - "SDK Integration Tool". Select the third-party advertising network you want to integrate with, click "Generate Integration Code", and then obtain the download link for the ToBid SDK.
4.3 Refer to the ToBid SDK integration instruction document to integrate the SDK.
| OS | Link |
|---|---|
| iOS | View |
| Android | View |
| Unity | View |
5. Perform Mediation Management Settings
5.1 Adding Ad Sources to ToBid Ad Placements
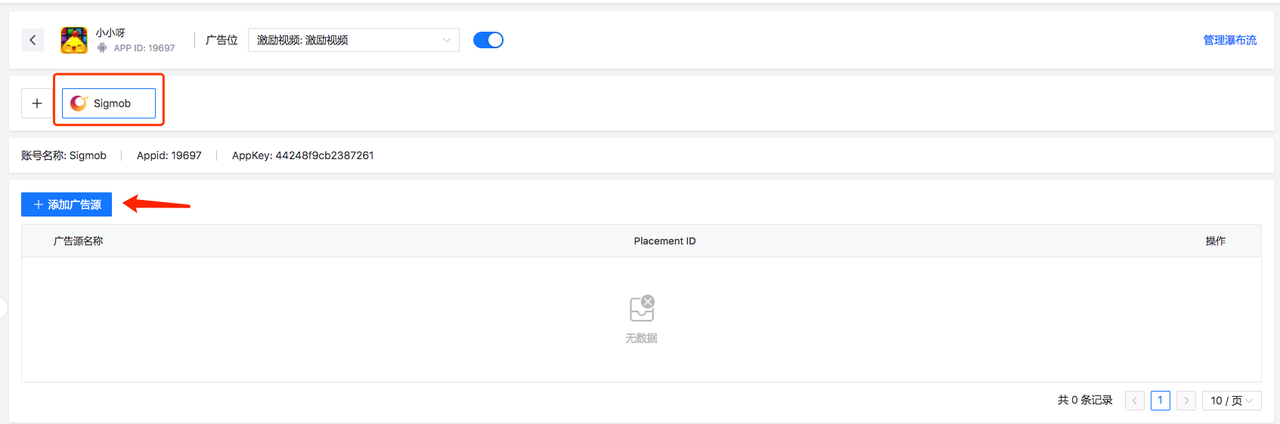
On the ad placement list page, you can click "Manage Ad Sources" to create ad sources.

The Sigmob channel is added by default. After clicking "Add Ad Source," you can directly select it from the dropdown menu, and the ad source name will be automatically filled in.
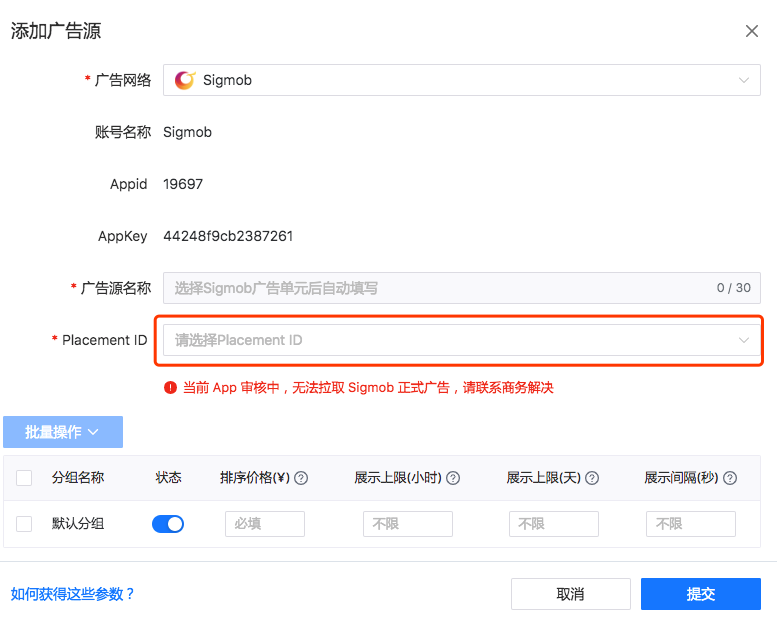
Note: There is a validation for required values here. The explanation for the sorting price is: "This price is only used for prioritizing ad requests and calculating estimated revenue for ToBid statistical indicators. If you have set an eCPM floor price in the ad network, it is recommended that the price filled in here be consistent with the set floor price."
【View】View How to Quickly Create Third-Party Code Placements
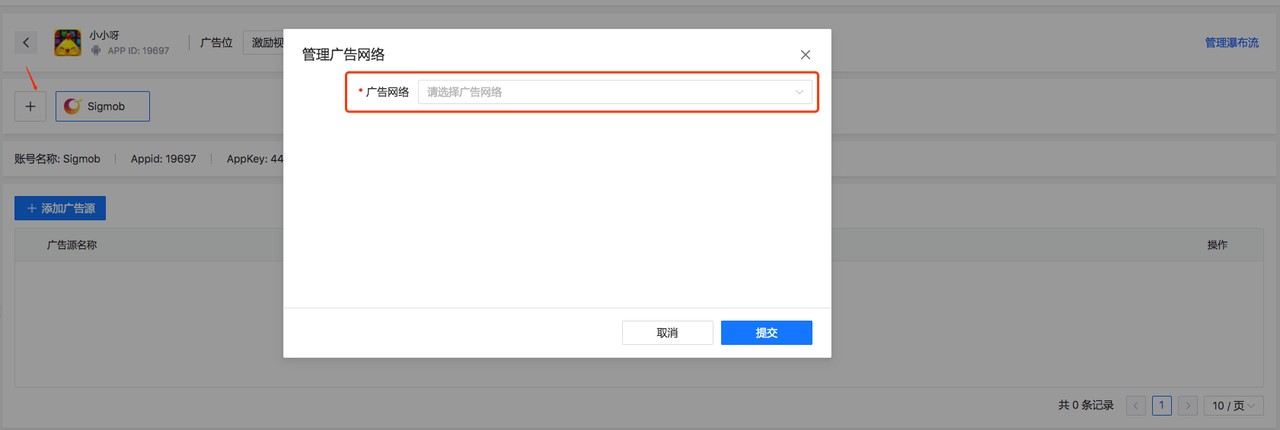
Click【+】,you can choose to add other advertising networks supported by the ToBid platform.
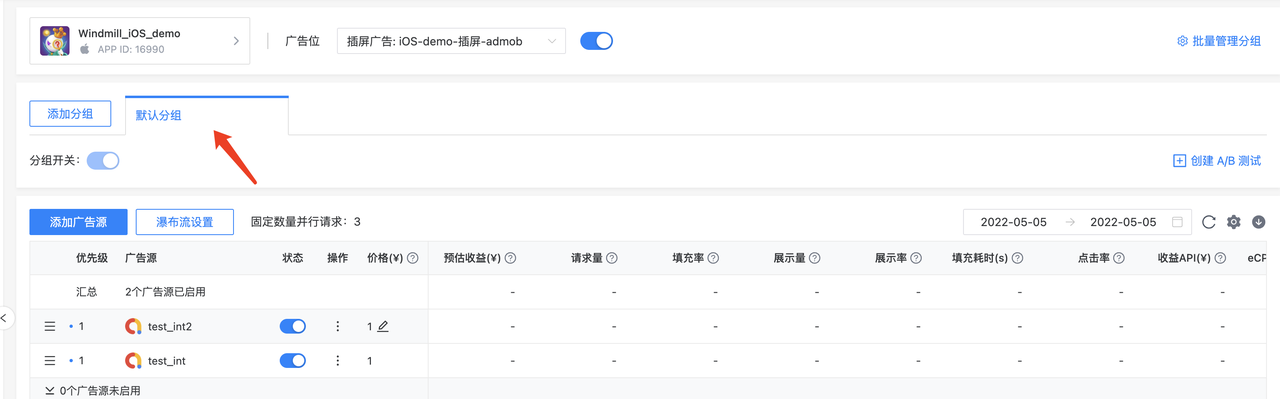
5.2 Add Segment
5.2.1 Introduction to Segment
Segment allows developers to set different waterfall configurations for different groups of traffic. Depending on the actual traffic situation, developers can group traffic according to different rules.
5.2.2 Note
After completing the operations in section 3.2 (Creating ToBid Ad Placements), the system will automatically create a default segment for each tobid ad placement. This group cannot be renamed, deleted, or disabled, and represents all traffic requests from the developer's app. Without any other rules, the waterfall configuration of this group will be used for all traffic requests.
If multiple segment are created under the same tobid ad placement, and none of the group rules match the traffic characteristics (such as version number, device ID, region, etc.), the default group will serve as a fallback strategy to deliver advertisements.
about segment, please refer to:【Segment】
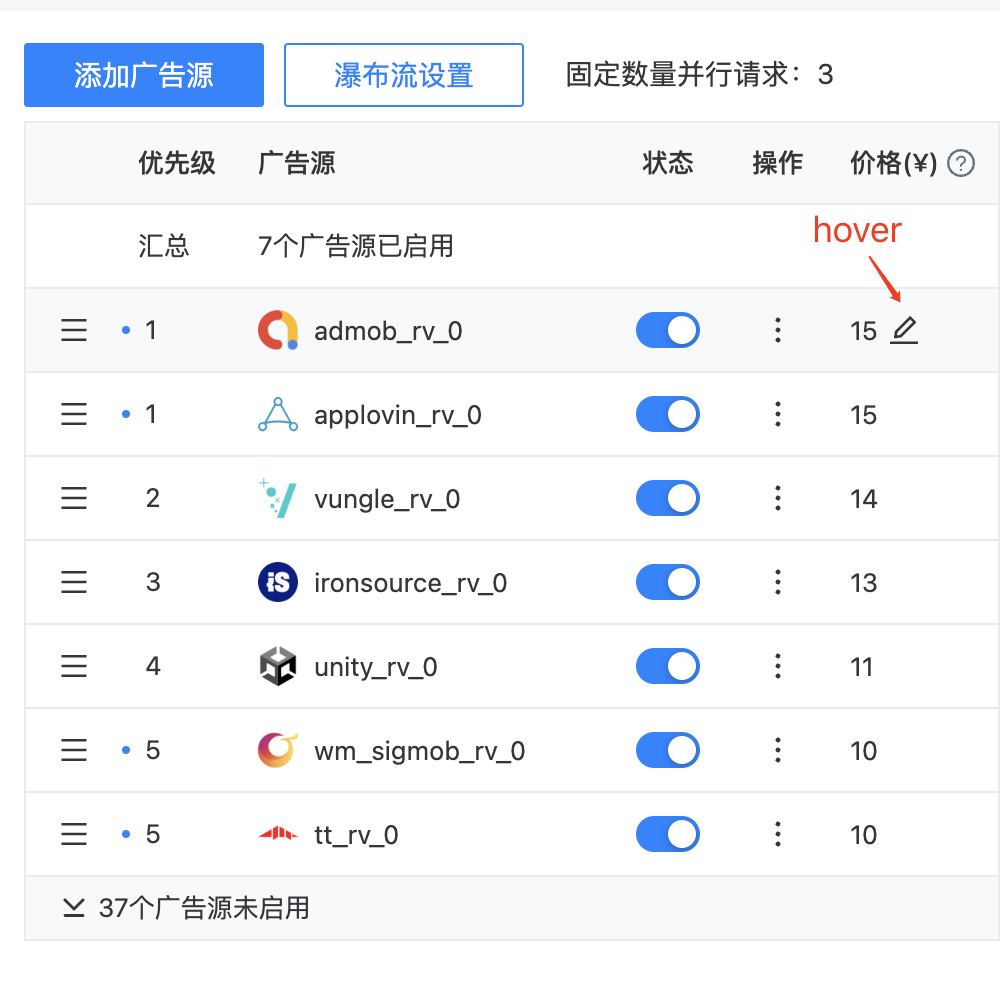
5.3 Waterfall Priority Adjustment
When creating an ad source, developers are required to fill in a ranking price, which is used to determine the ranking of that ad source in the waterfall, i.e., the priority of ad requests and displays.
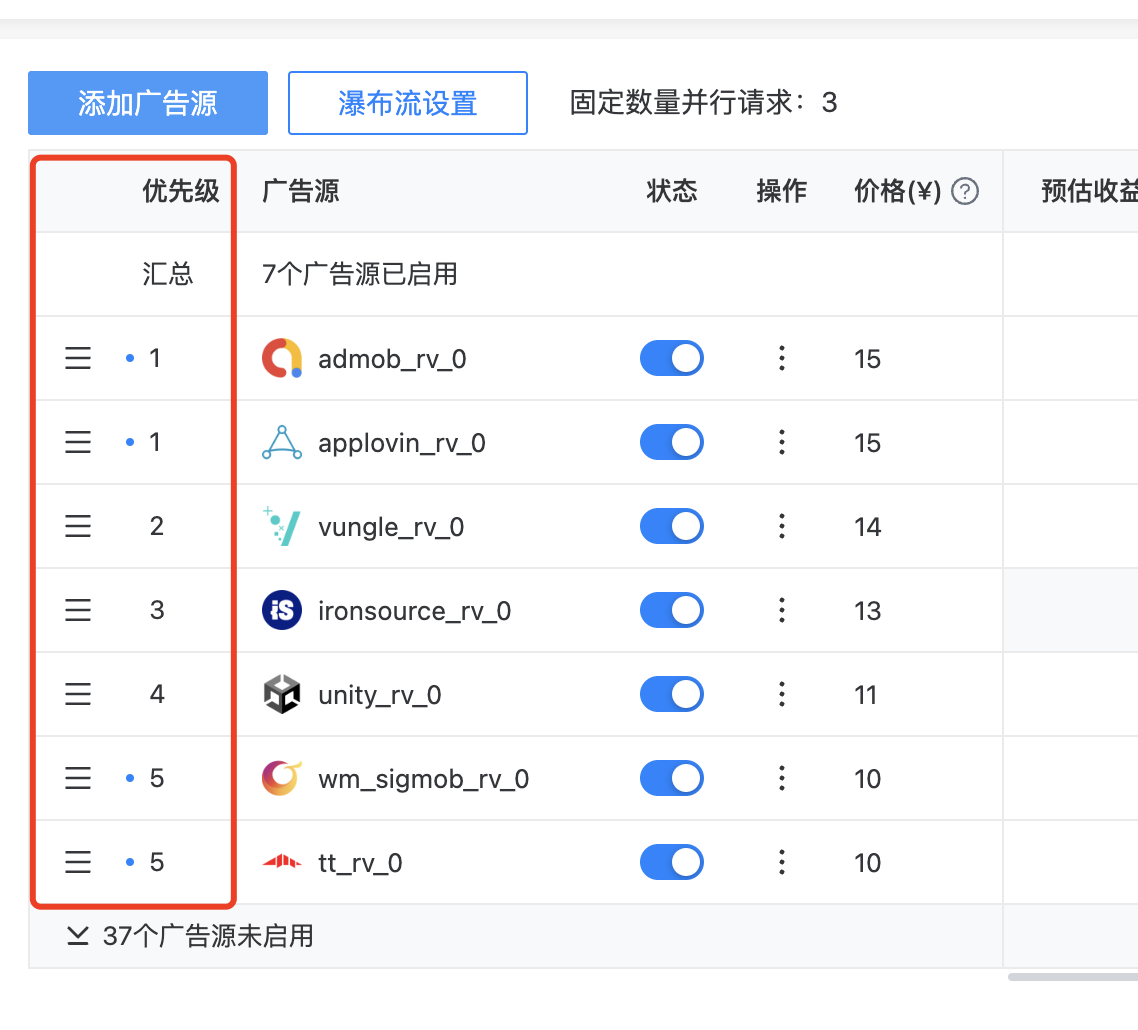
The system will automatically sort the ad sources from high to low based on the ranking price filled in by the developer. The developer can adjust the priority of the ad source in the waterfall by editing and modifying the ranking price.
Tips:It is recommended that developers align the ranking price with the floor price set by the advertising platform to maximize revenue. If the developer is unable to set a floor price on the advertising platform, it is suggested that the ranking price should be filled in as the average price of that ad source for the past 7 days.
5.4 Select the Request Mode
ToBid offers three request modes that developers can flexibly choose from in different scenarios. Please refer to the specific settings and usage considerations for more information.【Request Mode】
6. SDK Integration Testing
This step is crucial for verifying the success of integration. After integrating the ToBid SDK for the first time, developers need to conduct individual tests on the ad sources of each advertising network, including ad display, click, redirection to installation, and so on.
ToBiprovides multiple testing modes for developers to choose from for rapid integration testing. Please refer to the specific details for more information.【Integration Testing】
7. Check Data Reports
The ToBid platform provides various data reports for developers to view detailed monetization data and optimize the overall monetization effect.
7.1 Type of Data Report
- Overview
- Daily Report
- In-App Bidding
- Hourly Report
- User Behavior
- Cohorts Report
- A/B Test
- Ad Request
7.2 Data dimensions and metrics supported by data reports
Detailed data dimensions and metrics can be viewed【Report】